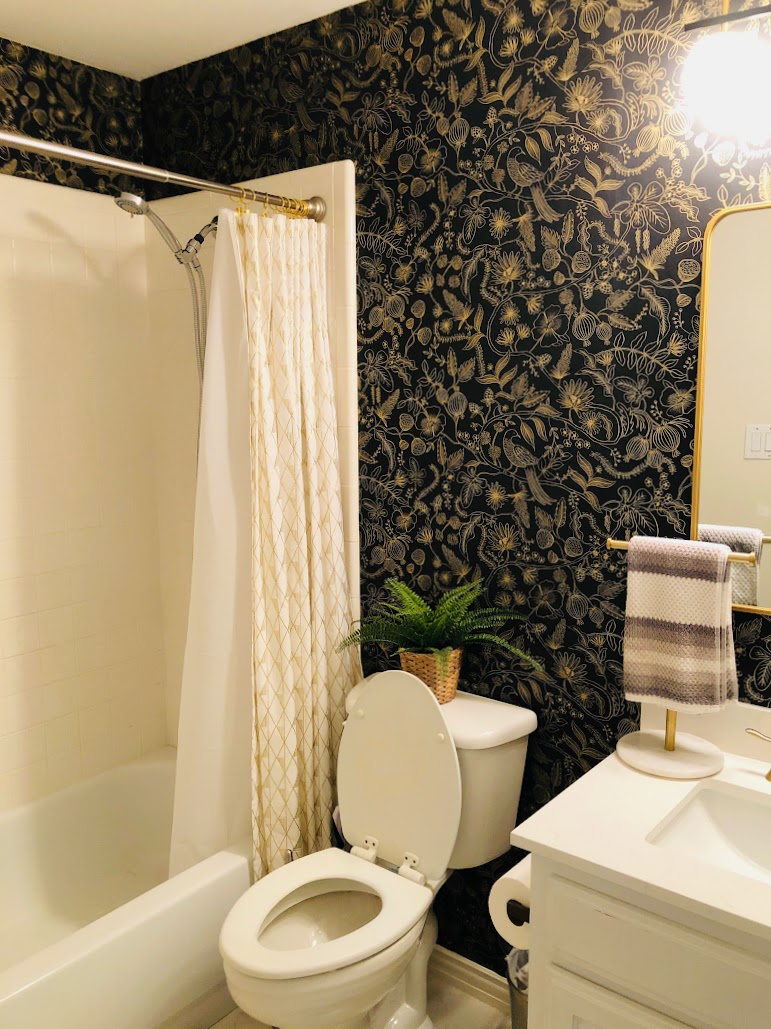
I am currently remodeling our powder room with HB, and one thing that I really wanted in this bathroom is a cool, fun, bold wallpaper. After ordering samples of the wallpaper that I had shared in my mood board, I chose the black and gold print for one reason: it was easier to apply on the textured walls. You can barely see any bumps under the black wallpaper, whereas the white paper showed the bumps in high relief. As a result, I ordered 3 rolls and started the project with much hope.

Needless to say, as with any home DIY, I experienced some bumps in the project.
I thought I could “save” paper by piecing together small scraps. As it turns out, the seams are very visible because if they don’t line up perfectly, then you can see the white edges of the paper. It was really obvious when looking down at the patched-together scrap pieces of paper. I learned that it was best to work in entire vertical sheets. There goes my plan to save bits of paper…
The greater problem, however, came after I finished my first corner. I smoothed the paper across the corner and onto the adjacent wall and kept going. Little did I know, corners are NOT perfect 90 degrees. Which in turn, tilts the paper, so every vertical strip that comes after will also be slanted. I was at such a loss when I discovered this, after already finishing two walls. As I continued towards the bottom of the wall, a millimeter wide-gap grew to 1 cm, and so on…
I ripped everything down in despair and frustration. With one roll left, HB and I talked about giving up the entire project. He didn’t even want wallpaper in the first place!
In the end, we decided to continue with the project. I bought two more rolls of paper, which really hurt me, because in my effort to save money, I ended up having to buy more! I watched YouTube videos, especially ones that taught me how to address those pesky corners, before continuing. After failing once, I felt more confident to avoid the mistakes I had first made.

Unfortunately, I made another rookie mistake. We all know to “measure twice, cut once.” But I, in a lazy effort to save time, skipped the first part of the adage. I didn’t even measure my paper, thinking I can estimate it! So I ended up cutting a piece of paper that was too short for the wall. And as I now know from earlier experience, I cannot line paper up horizontally because the seams will show. And that was my last sheet of paper! Gah!!
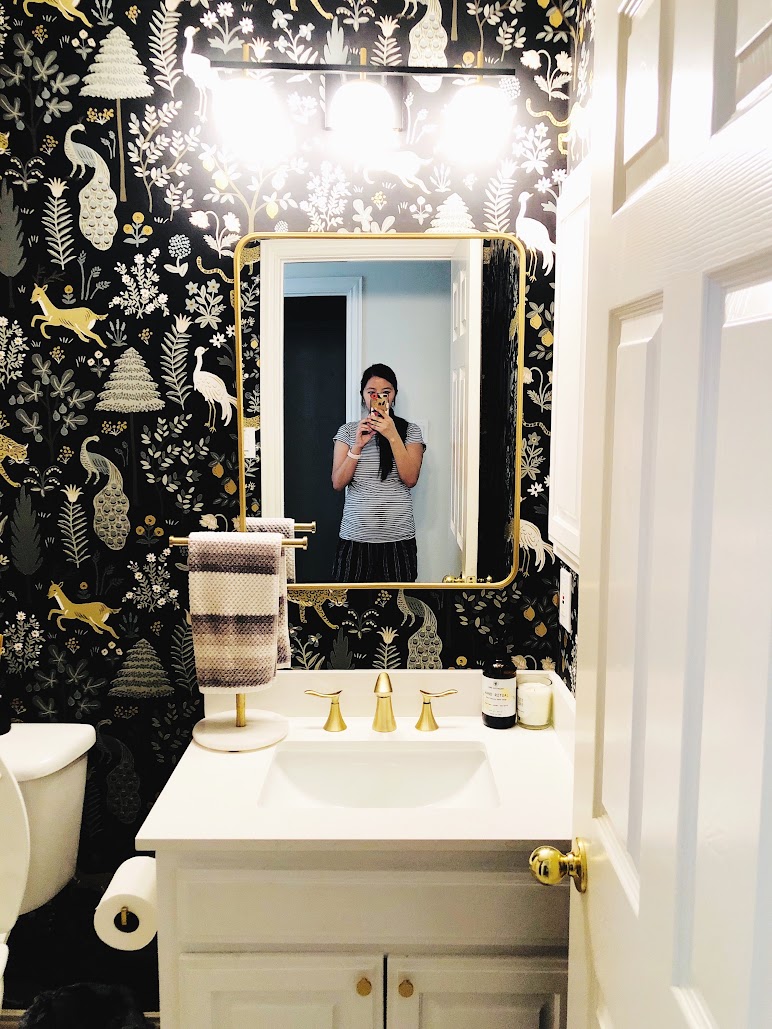
This project really tested me. It’s not even done yet, because I’m waiting for the new rolls of paper to arrive. Next time, I would definitely hire someone to do this kind of job. I don’t think wallpaper is an easy DIY if you’re going to cover an entire room. A single wall with no corners? Go for it. But I would definitely leave any larger project to the pros. Even though this bathroom is small, I now recognize that this is a huge project. It took way more time and money than I had expected. We’ve spent at least 15 hours and $300+ working on this. The only thing that’s keeping me going is the beautiful way it has turned out, and the validation I received from my realtor who came to visit and loved it! ![]()
Besides the wallpaper stress, I love how the rest of the bathroom is coming together. I look forward to sharing it here on the blog once it’s completely done!
Have you ever tried installing wallpaper yourself? What was your experience like?


Join the Conversation