Last summer during the height of the pandemic, I decided to upgrade my entire office setup since it looked like I’d be working from home for a while. One of those things was my computer, which used to be a 2013 Macbook Pro. It was definitely due for an upgrade! I looked into getting an iMac, which I actually did - then promptly returned it after finding out it wouldn’t be able to double as a second monitor (seriously, who at Apple made that stupid decision?!). My setup needed to switch seamlessly between work and personal use. As a result, after much research (and YouTube videos), I decided to build my own PC for the same price I’d pay for an iMac, only better.

For my purposes, I wanted a computer that is a) pretty and b) can easily handle video and photo editing. Here’s what made up the beast that I built:
Case
Aesthetics were super important to me, so it all started with the case. Then I chose the rest of the hardware based on the physical limitations and compatibility with the case! The one I chose was the NZXT H510 Elite Mid-Tower Case, a beauty. I loved the clean lines and simple design. Plus those lights!!
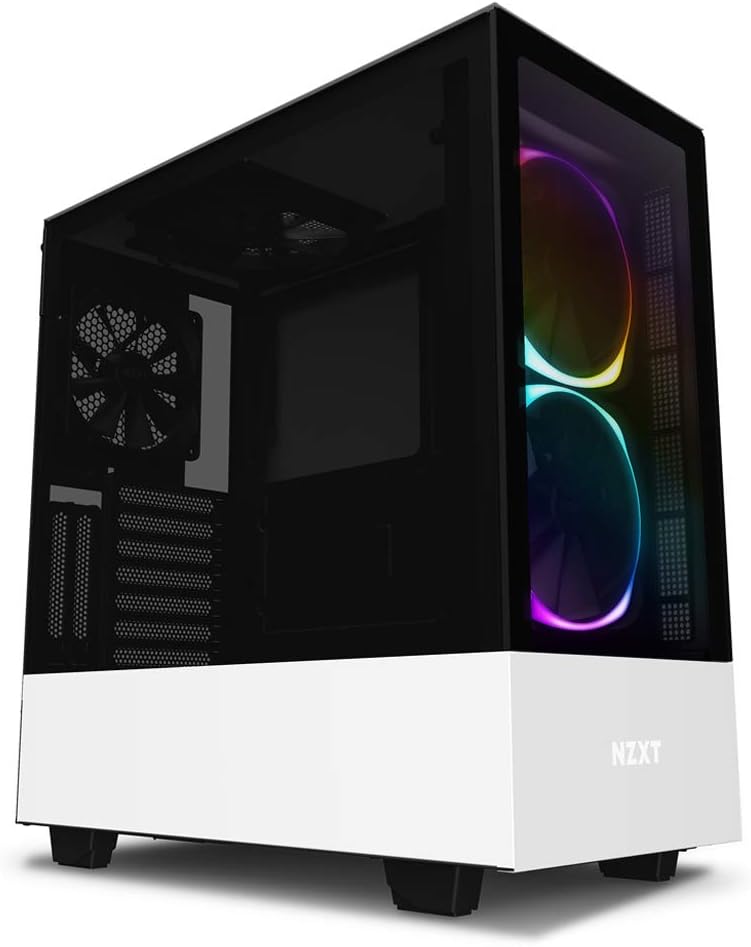 NZXT H510 Elite Mid-Tower Case
Aside from it’s beautiful looks, I also liked the case’s USB-C port on the top. I have a USB-C memory card adapter that I often use to transfer my photos, so I wanted an easy-access port on my computer. Additionally, I got the Elite because I wanted the pretty colored fans in the front. I KNOW. It was really an aesthetic thing; otherwise the basic H510 case would work just as well at a fraction of the cost.
CPU
Next, I chose a CPU. For those of you who don’t know, CPU stands for Central Processing Unit. It’s the computer’s brain. IMO, the greater the processing power, the better, since your computer will be blazing fast.
It was a battle between top makers AMD and Intel; in the end, AMD won out with its AMD Ryzen 9, which was top of the line at the time. I heavily invested in my CPU because it is one thing that I did NOT want to switch out in the future. I’m not even sure what happens to your data when you switch out a CPU…does anyone know?
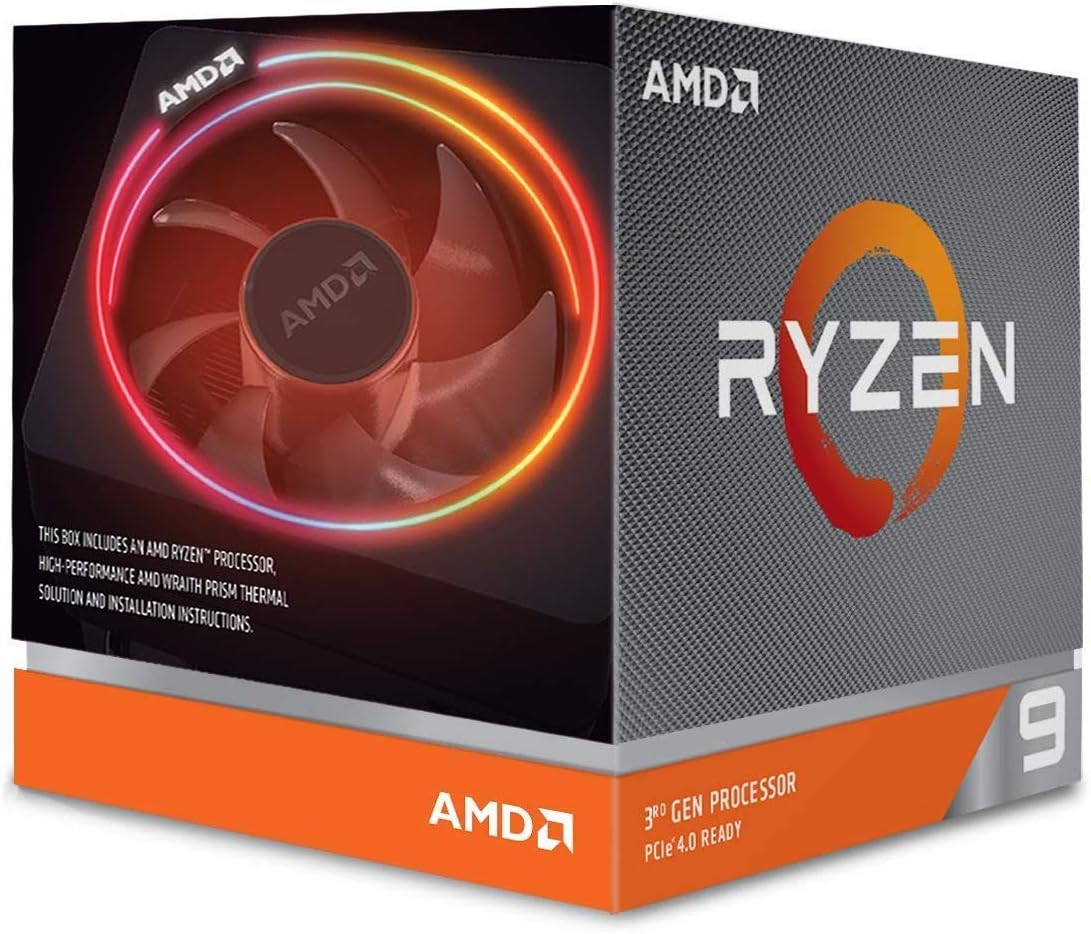
The CPU came with a fan, so I did not purchase a separate one. Though you can get a more powerful one, if you want. The product also came with the glue needed to mount it to the motherboard, so that was also nice.
Motherboard
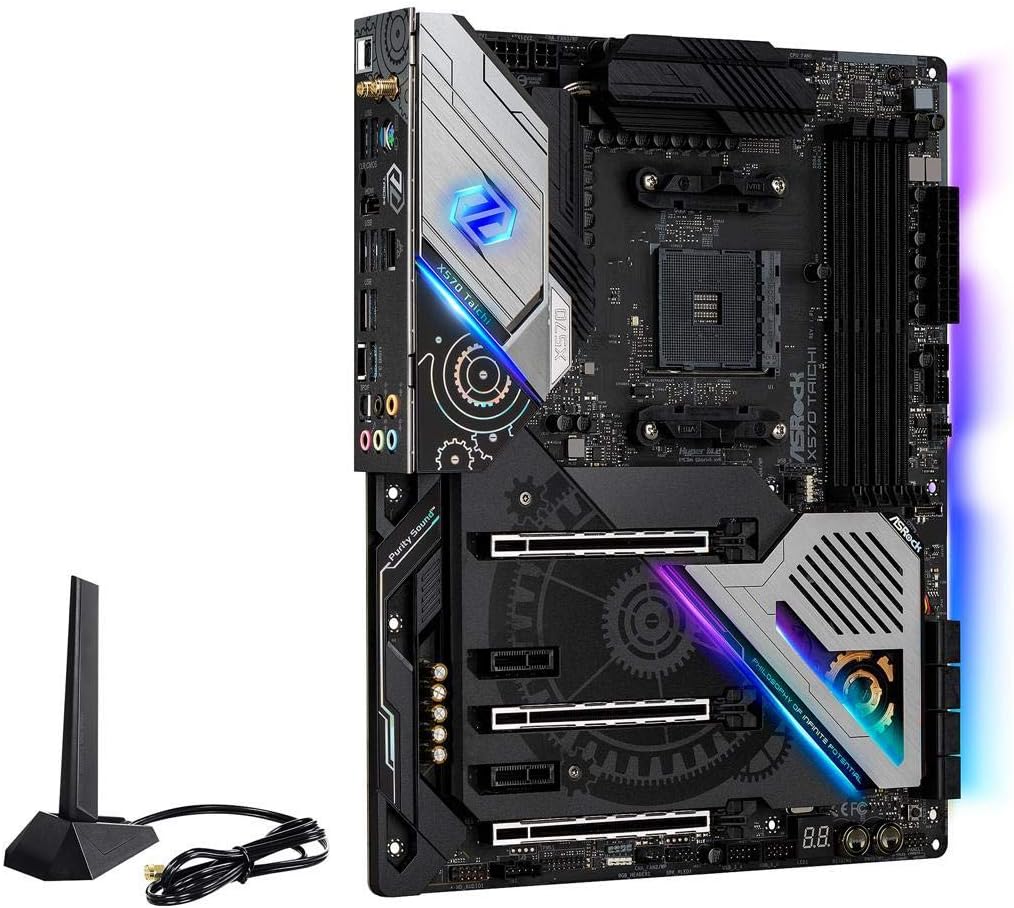
I really have no good reason for why I got the AsRock X570 Taichi motherboard other than it was in stock at the time. I really wanted the ASUS Prime X570-Pro because it was pretty (not a good reason, but it works for meee) but it was consistently out of stock. It was a challenge sourcing all of these parts last year because of the COVID shitstorm. Manufacturing was at a halt, and it seemed like a ton of people were stuck at home building computers?! But in the end, the choice came down to price and compatibility. The Taichi that I got also had USB-C compatibility for the front port on my case (this is important!), which many motherboards did not.
Graphics Card
If you’re a gamer, then choosing this part is super important. But since I’m not a heavy gamer (I mean, does Planet Zoo count?), I chose a mid-level graphics card GeForce RTX 2060 Super that was still pretty darn good. Like I said, this computer was an investment, and I hope to not have to upgrade anything for at least 10-15 years. It sure was fun being able to play my Planet Coaster and Planet Zoo with beautiful smooth scrolling though!
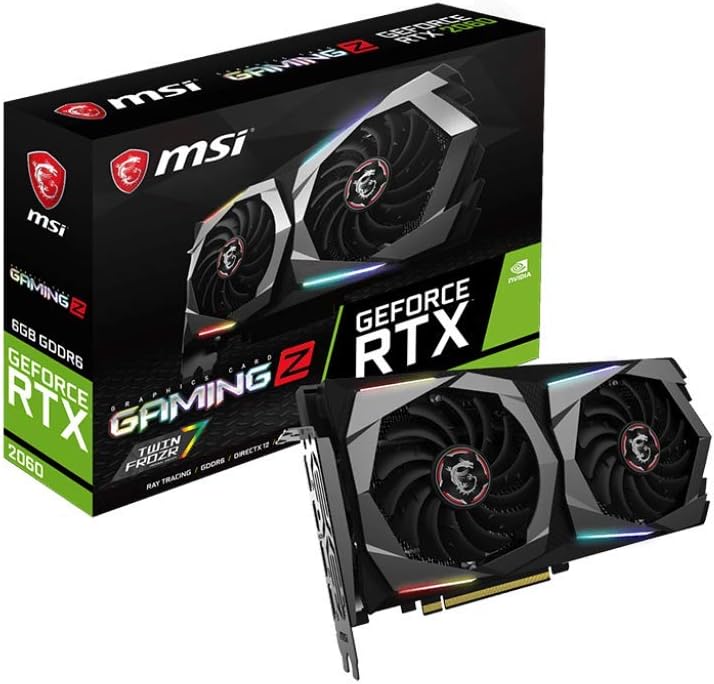 MSI Gaming GeForce RTX 2060 6GB Graphics Card
Power Supply
You need your computer to turn on, so that’s why you’ll also need a power supply. I waffled on this part SO MANY times, buying/returning a bunch of power supplies because of stock and better deals coming along. But at the end, I settled on the Corsair RM 750x power supply. 750W is more than enough for what I need. But I can never be too sure! Buy it once and never have to upgrade…
Memory
The amount of memory your computer can have depends on the motherboard. My Taichi has a max of 128GB of memory. That’s a lot! The advantage of having lots of memory is so that your computer can multi-task efficiently. For example, if you have a billion Chrome tabs open along with 10 other programs running, then 128GB of memory would be excellent. However, since I use my computer casually most of the time, I did not need so much RAM so I got Corsair Vengeance 32GB. It’s easy on the wallet and takes up only two memory slots, so if I wanted to add more memory in the future, I can with the remaining 2 slots.
Storage
Your computer’s internal storage is also highly customizable. I split my storage so that my main storage is using Sabrent 1TB PCIe Solid State Drive and my additional storage is on Seagate BarraCuda 2TB HDD. Solid state drives (SS) are better and faster than HDD, but it’s also more expensive. So I store my media (photos, videos, games, etc) on my bigger HDD and save my SS space for everyday use. The nice thing about this case and motherboard is that there is additional room to install even MORE drives, if you wish. I’ll probably get there some day, but that day is not today.
 Sabrent 1TB PCIe Solid State Drive
Total Cost
According to PC Part Picker, this is the grand total for all the parts listed above:
| Type | Item | Price |
|---|---|---|
| CPU | AMD Ryzen 9 3900X 3.8 GHz 12-Core Processor | $499.99 @ Best Buy |
| Motherboard | ASRock X570 Taichi ATX AM4 Motherboard | $299.99 @ B&H |
| Memory | Corsair Vengeance LPX 32 GB (2 x 16 GB) DDR4-3600 CL20 Memory | |
| Storage | Sabrent Rocket 4.0 1 TB M.2-2280 NVME Solid State Drive | $159.97 @ Amazon |
| Storage | Seagate Barracuda Compute 2 TB 3.5" 7200RPM Internal Hard Drive | $52.49 @ Newegg |
| Video Card | MSI GeForce RTX 2060 SUPER 8 GB GAMING X Video Card | |
| Case | NZXT H510 Elite ATX Mid Tower Case | $149.88 @ Amazon |
| Power Supply | Corsair RMx (2018) 750 W 80+ Gold Certified Fully Modular ATX Power Supply | $134.99 @ Newegg |
| Prices include shipping, taxes, rebates, and discounts | ||
| Total | $1297.31 | |
| Generated by PCPartPicker 2021-05-21 14:02 EDT-0400 |
As you can see, this beauty is NOT CHEAP! But when compared to the price of an iMac (the 27” I wanted was $2500+ with upgrades), my beast of a machine beats every spec by a mile.
Accessories
Of course, my PC tower isn’t complete without a few accessories! Here are all the peripherals I got:
Monitor
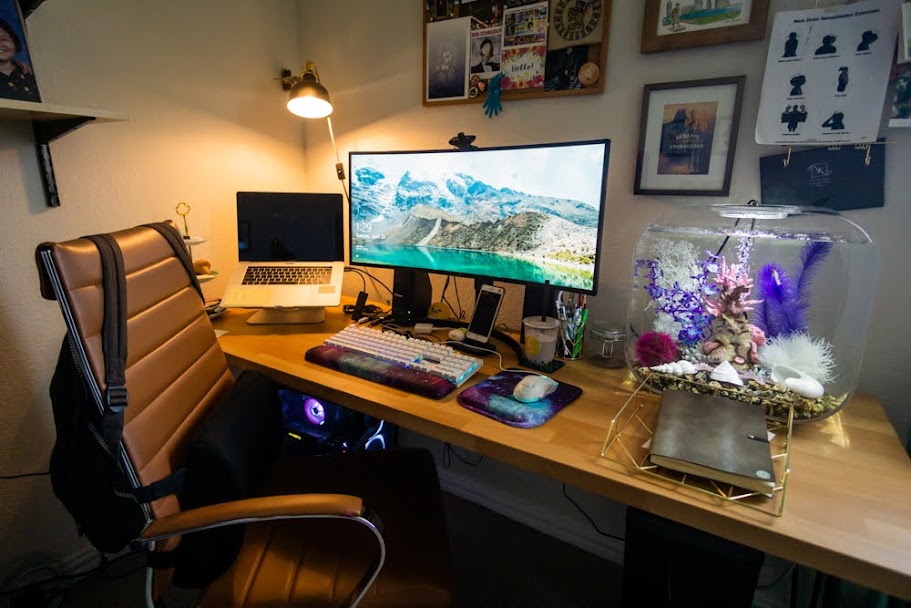
I debated between have dual screens. Once you go 2 screens you can’t go back! But having two 4k monitors gets expensive real quick…so I looked into getting one extremely wide screen. I’m very happy with my choice LG 34in Curved UltraWide Monitor. A selling point for me was that this monitor has a USB-C cable to connect to my work Macbook. It was a little frustrating that I had to find a monitor compatible with my work computer, but it’s so worth it. I love having just ONE cable that both charges and displays my Macbook on the monitor.
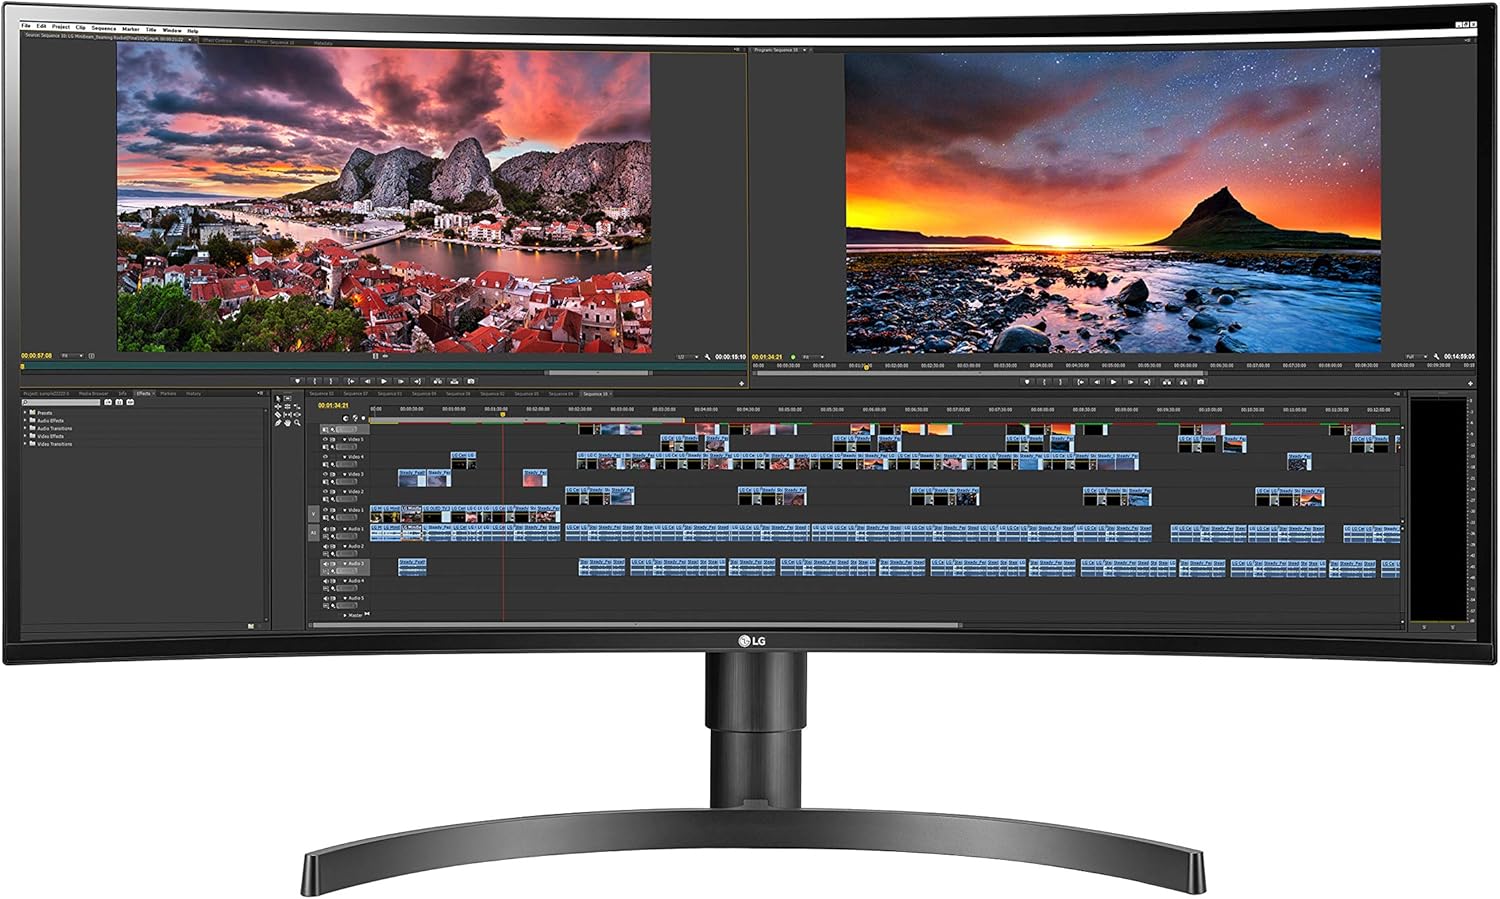 LG 34in Curved UltraWide Monitor
Keyboard
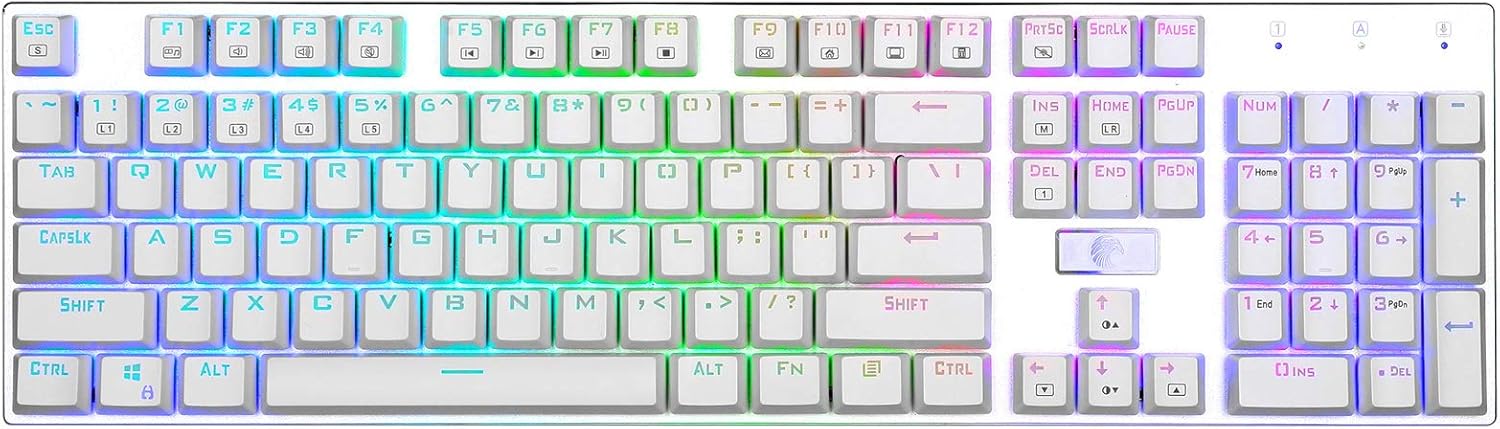
I used to make fun of my husband for having a mechanical keyboard (NERD ALERT)…then I caved and ended up getting one myself, haha! Honestly, I was drawn to the aesthetic more than the “feel” of the keys. They look very beautiful with all of the lights! I also saw some incredible DIY mechanical keyboards online, but I’m not trying to pick up yet another hobby, so I got this keyboard from Amazon. It took some getting used to, but now I feel weird typing on anything else.
Mouse
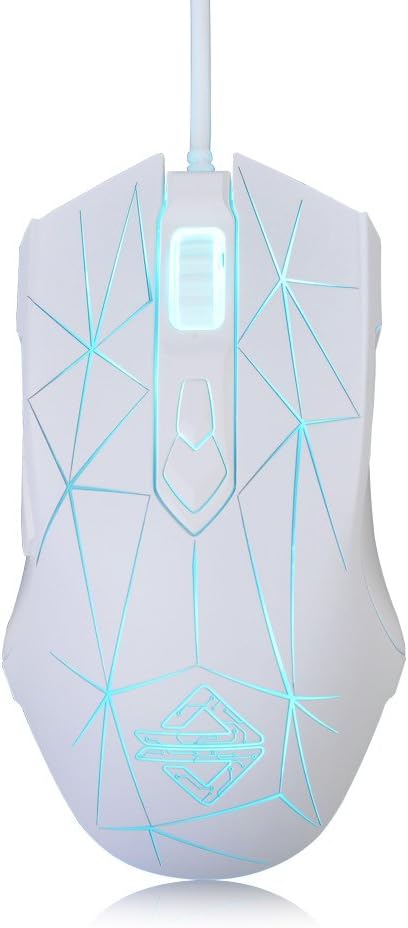
Of course, my mouse has to match my keyboard! The mouse I got also lights up and looks so good next to the keyboard. I don’t game a lot, so all I need is a basic mouse with forward/back buttons for a good browsing experience. It boggles my mind that the mice at my office DON’T have them and it annoys me to no end. This is why I love my work from home setup now; it’s customized to my needs and is better than what I have at the office!
I was working for a while before I noticed that my wrists felt pretty uncomfortable at the keyboard after some time. I got this mouse pad and wrist rest to help. It does not match my new office mood board AT ALL so I might replace it at some point. Oops!
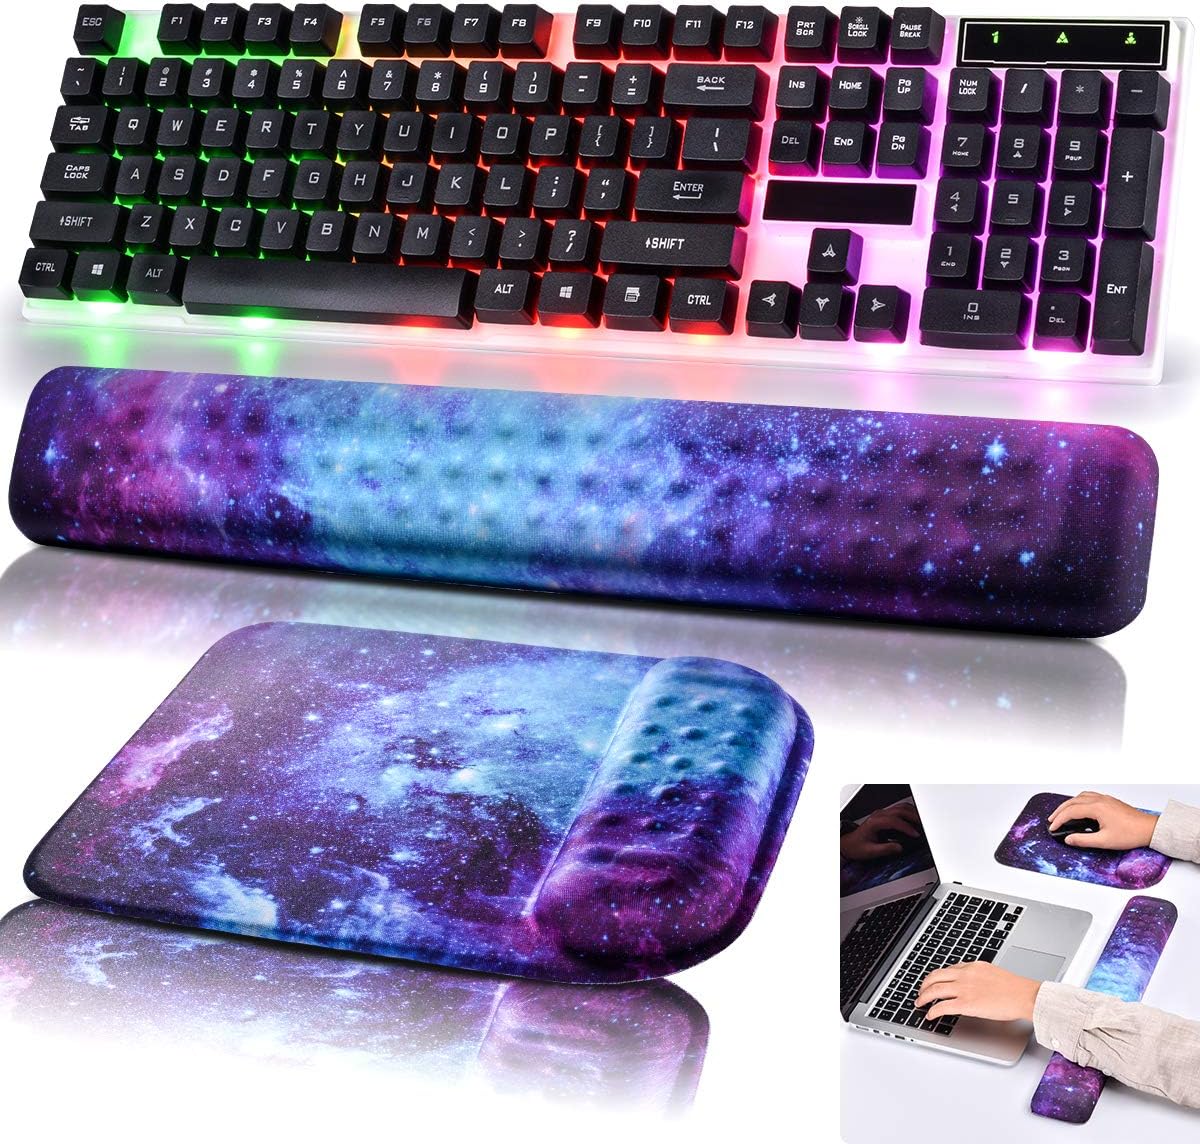 Starry Night mouse pad and wrist rest
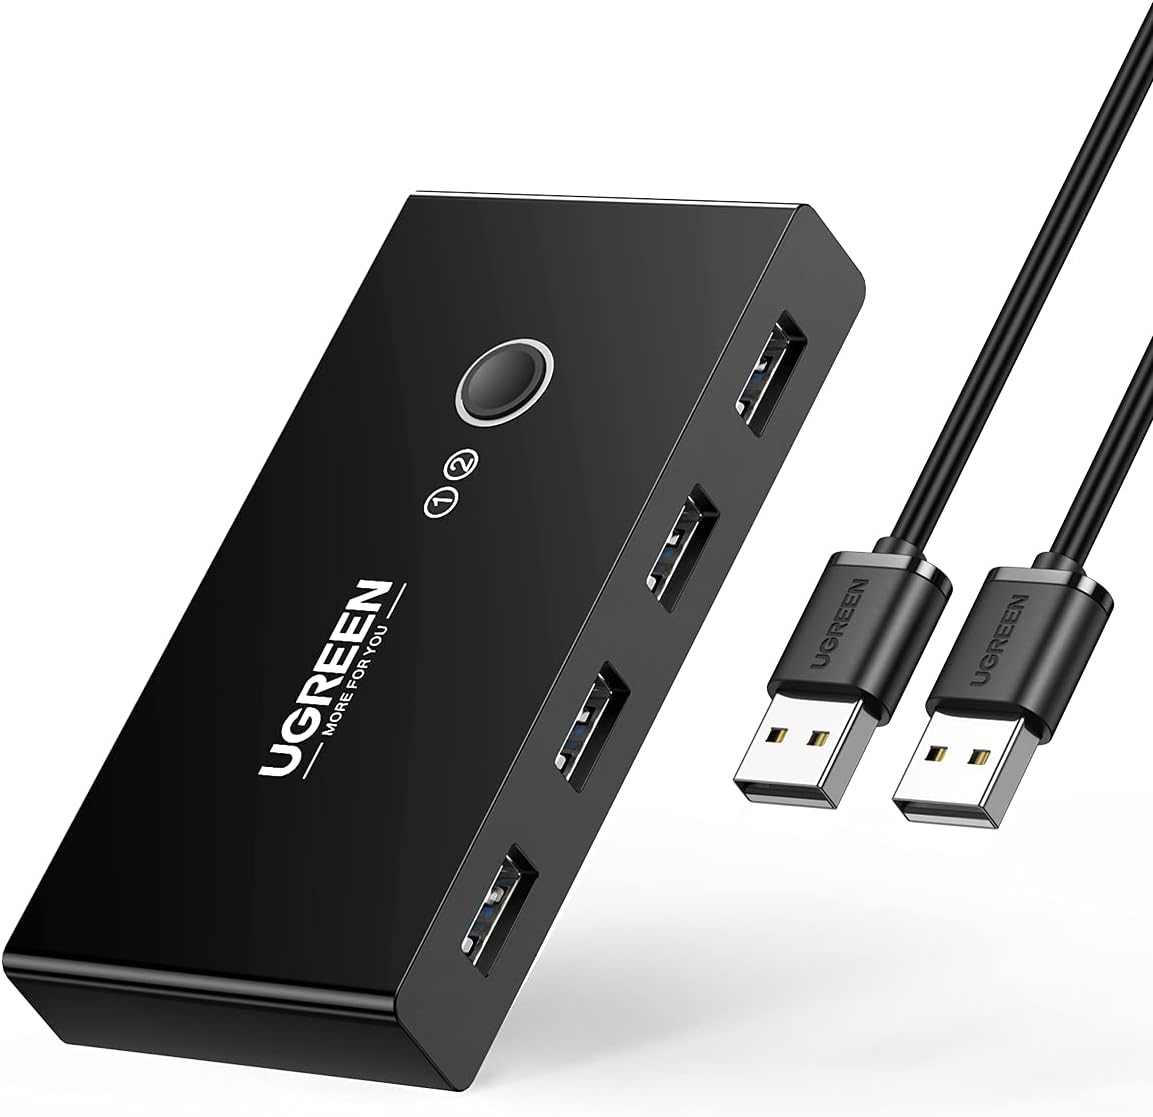
KVM Switch
Maybe not everyone needs one of these, but I wanted to share ONE keyboard/mouse set between my work and personal computers. I did not want to unplug, then plug, my devices into the respective computers whenever I wanted to use them. So the only solution I was able to find was to use a KVM switch. KVM stands for “keyboard, video, and mouse.” These devices are plugged into the switch, which also has the two computers plugged into it. With the press of a button, I can connect the keyboard/mouse to either computer. It’s a pretty good solution to my needs.
Ho boy, so that was a lot of information! After sourcing my materials, I turned to YouTube to learn how to actually build it. I would suggest that you begin by reading your motherboard manual to learn where everything needs to go. Please let me know in the comments below if you have any questions. You can tour our home office in this post. Show me your build!
P.S. I will get a small commission if you make a purchase through these links at no additional cost to you. Thanks for your support!


Join the Conversation